Generating Stable Diffusion Faces that Don’t Look Like Deformed Monstrosities
If you’ve spent some time experimenting with AI Art in Stable Diffusion, then you may have noticed that faces don’t always come out right. Sometimes they come out looking more like horror movie abominations. Why is that and how do can you fix it?
In this guide, I’ll walk you through all the tips and tricks that will take your AI-generated faces from ugly to lovely.
How Do You Improve Faces in Stable Diffusion?
Faces in Stable Diffusion can be improved upon in 3 main ways, each with increasing performance than the next. These 3 methods of face enhancement are:
- writing more detailed prompts,
- using face restoration extensions like Codeformers, or
- using a custom model with more accurate face training data
Let’s look at each of these methods separately.
1. Prompt Tips for Improving Faces
The first way to improve faces in Stable Diffusion is by simply writing better prompts. Adding keywords that are geared towards good-looking faces will generate better-looking faces. Who woulda thunkit?
Let’s say you’re starting with a very bland and short prompt like:
Photo of a womanThat description is far too ambiguous. Giving Stable Diffusion vague prompts will lead to vague images. So be more precise. How do you do that?
Understand that Stable Diffusion can infer from a huge variety of images. In fact, the base model was trained on a dataset containing 5 billion pictures!
What you want to do it add keywords to your prompt that will lead the AI to infer from professional portrait photography (or paintings, if that is the medium you’re after).
Keywords for Detailed Faces
First, add details about how the face should look. This includes:
- Hair color and texture (brunette, blonde, ginger hair, auburn hair, wavy hair, buzzcut, etc)
- Eye color (blue, brown, hazel, green, etc)
- Skin characteristics (pale skin, tanned, with freckles, etc)
- Ethnicity (White, Black, Asian, English, French, Armenian, Igbo, etc)
- Facial expression (smiling, frowning, laughing, giggling, crying, etc)
- Clothing (blouse, sweater, jacket, tuxedo, sundress, denim, etc)
This will lead the AI to draw influence from more specific subsets of training data that have those kinds of keyword tags. Also, by mentioned certain details of a person’s face like “skin with freckles”, you are causing Stable Diffusion to spend more time generating those aspects of the person.
Anything that is specifically mentioned in a keyword will get more focus from the AI (as opposed to elements you completely leave to the program’s own imagination).
For this reason, I also suggest adding keywords like “detailed face, detailed eyes” if you aren’t specifying a certain eye color or skin texture. That way the words “face” and “eyes” still get picked up by the AI and given more weight during the internal image production process.
Camera Type Keywords
Next, you should start adding keywords to your prompt that refer to camera technique, product models, and photography terms in general. Why?
Because Stable Diffusion was trained through statistic word mapping; that means it was fed billions of images that had keywords or tags matched to them. For example, a picture of a city with the tags “city” “cityscape”, “photo”, etc. Many of these tags were pulled from the meta-data of the images, and all of the images were crawled from the internet.
A lot of cameras add the model and lens meta-data into the images that they produce, or the photographer will add that data into the image attributes when he/she posts it online. That means Stable Diffusion has a lot of tags linking specific camera models and focal lengths to professional images it studied.
You can use camera-related tags to guide the AI towards those pro photographer images. That will usually lead to more realistic and more attractive-looking faces.
So what are some camera keywords to use? Try things like:
- Camera model (Canon EOS Rebel T7, Fujifilm X-T4, Panasonic Lumix GH5, etc)
- Lens length (50mm, 80mm, and (sometimes) 35mm are most popular for portrait photography)
- Aperture setting (f/1.7, f/1.2, f/2.8)
- Lighting style (soft lighting, morning light, golden hour, studio lighting, etc)
Photographer Keywords
Lastly, you can mention specific portrait photographers in your prompts. This may have the most notable effect on your output images of any keywords you could try. Well…as long as Stable Diffusion knows who the photographer is (not every popular photo artist is known by the base model). A few photographer names you can try include:
- Alessio Albi
- Alec Soth
- Marta Bevacqua
- Petra Collins
- Martin Parr
- Steve McCurry
- Ernst Haas
2. Using the Face Restoration Feature
In some distributions of Stable Diffusion, there is an extra little secret weapon for fixing faces. It’s called “Restore Faces” or “Face Restoration”. I know this setting is available in the GUI versions of Stable Diffusion from Automatic1111 and n00mkrad.
So what does Restore Faces do? When turned on, this setting activates one of two AI algorithms that were designed to recovery facial features from photos that were damaged. However, it just so happens that these algorithms can do the same thing with AI-generated faces.
The face restoration setting will go back over an image when generation is done and look for places on the face where there is distortion (eyes, skin, teeth, etc). It will then estimate what a realistic face should look like and tweak the image accordingly.
There are 2 types of face restore algorithms that you can use:
- Codeformers, which works better for photography-style images
- GFPGAN, which works better on paintings and drawings (like anime)
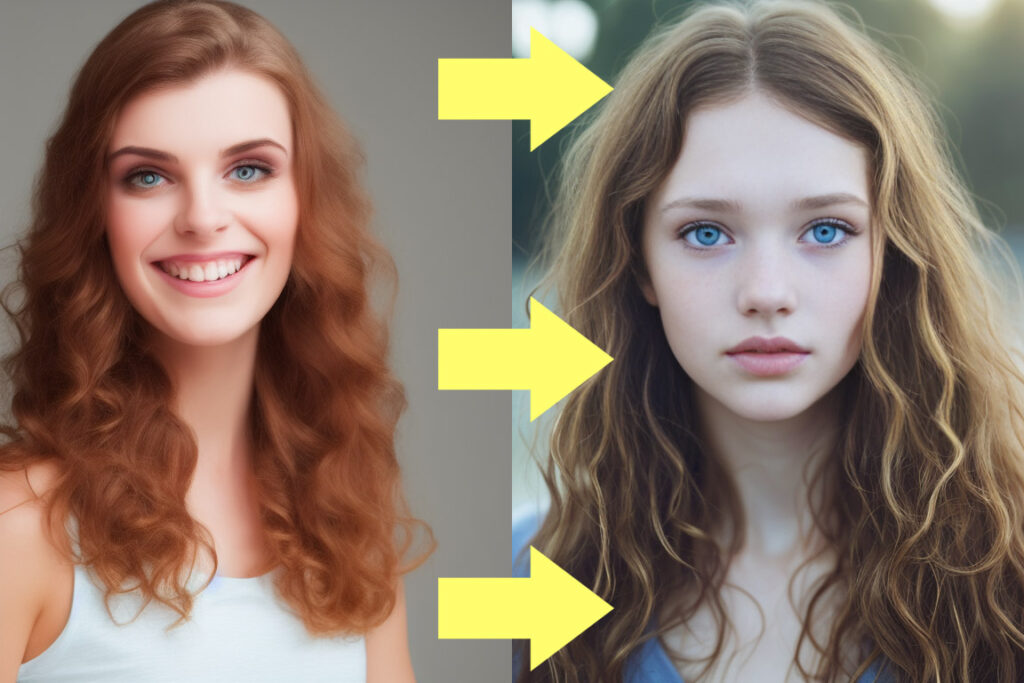
In your Stable Diffusion interface, you should have a “Settings” page. From that page, you can choose which of the 2 face restore options to use on your images. You can also set how strongly the face restore effect is on your outputs. I keep mine set down around 0.1 so it does not completely overpower the original image’s content. Here is an example of different Codeformer strengths on the same image:
 |  |  |
| Codeformers off | Codeformers Strength = 0.1 | Codeformers Strength = 0.9 |
 |  |  |
| GFPGAN Off | GFPGAN Strength = 0.1 | GFPGAN Strength = 0.9 |
3. What Are the Best Models for Realistic Faces?
Finally, you can improve face results by using custom models that have more training specific to human faces and anatomy. Because Stable Diffusion is an open source software, it’s possible for anyone to train their own models on anything they want. As it happens, many people have created popular models that focus on creating realistic people.
So try out a specialized model if you’re unhappy with the portraits that the basic V1.4 model is generating. The model you choose will depend on what medium of art you want your faces to appear in (paintings, anime, drawings, photos, conte, etc). Here are a view examples of the best models for the most common art mediums.
Best Model for Photo-realistic Faces
I have a full article reviewing the best photo-realistic models available for Stable Diffusion. Go check it out if you want to see image comparisons between them. In short, I would recommend the following models for getting life-like faces that look like photographs:
- Realistic Vision
- Analog Diffusion
- Dreamlike Photoreal
Realistic Vision is a model designed to capture a more accurate photo-like style in your AI art. It’s a blend of several other models. Don’t let that deter you though…the results it provides can be breathtaking.
Analog Diffusion is a model that was trained on traditional film photographs. While it’s not meant specifically for portraits or faces, it hands those features far better than the base Stable Diffusion model.
Dreamlike Photoreal is another custom trained model. As you can guess by the name, the intent was to make photo styles of AI art look more photo-y. With the right prompt, it does the job at a higher level than V1.4 could ever hope to.
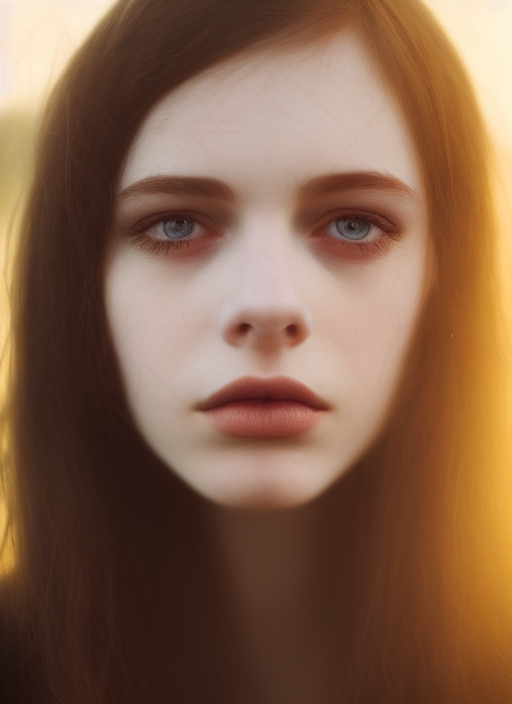
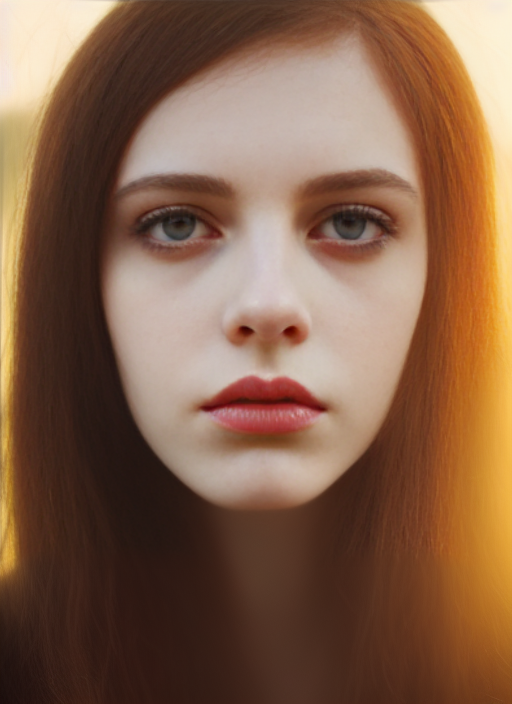
Below is a comparison of the custom models I’ve listed next to the basic V1.4 model. Every image uses the same prompt, settings, and seed:
| Prompt: | English woman, portrait photo, beautiful, detailed face and eyes, pale skin, brunette hair, 50mm lens, f/2.8, evening light, by Marta Bevacqua |
| Sampling Steps: | 20 |
| Sampler: | Euler a |
| Size: | 512 x 640 pixels |
| Restore Faces: | Codeformers at 0.1 Strength |
| CFG Scale: | 7 |
| Seed: | 962697711 |
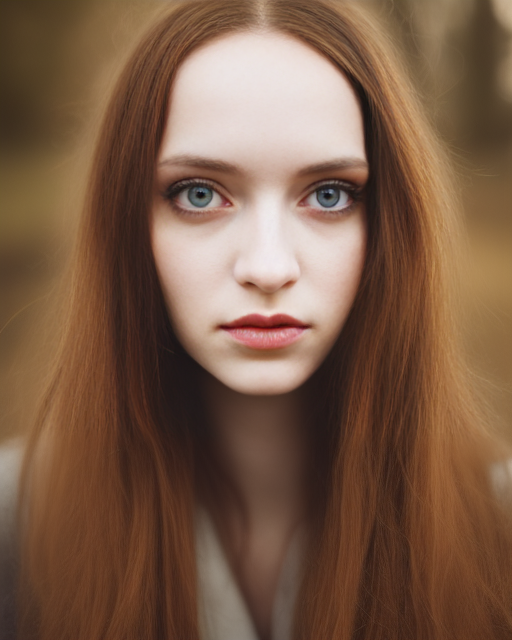 Stable Diffusion V1.4 | 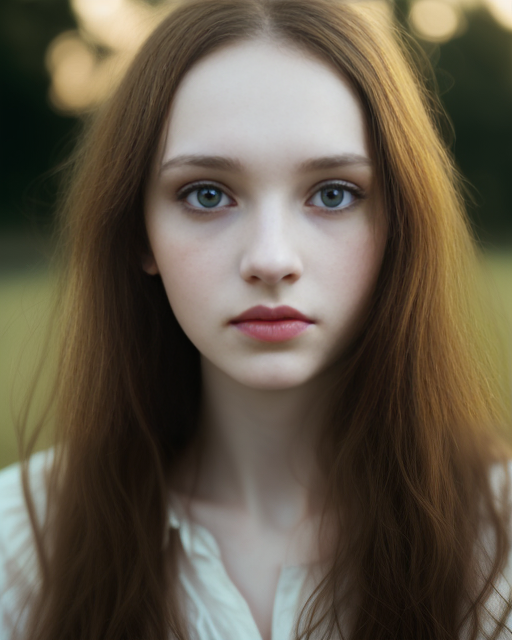 Realistic Vision V1.3 |
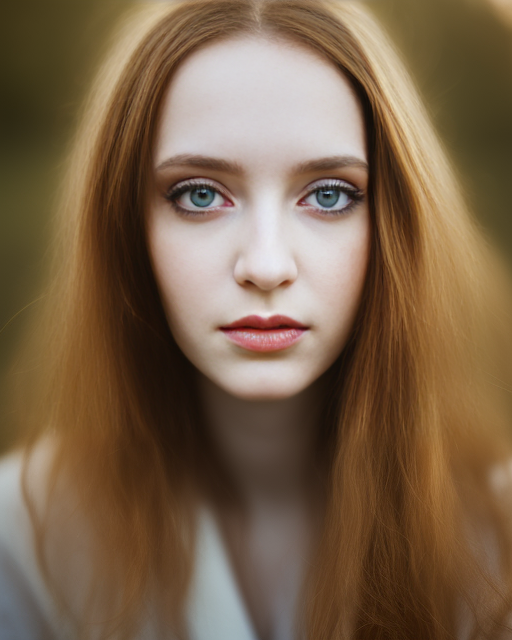 Analog Diffusion | 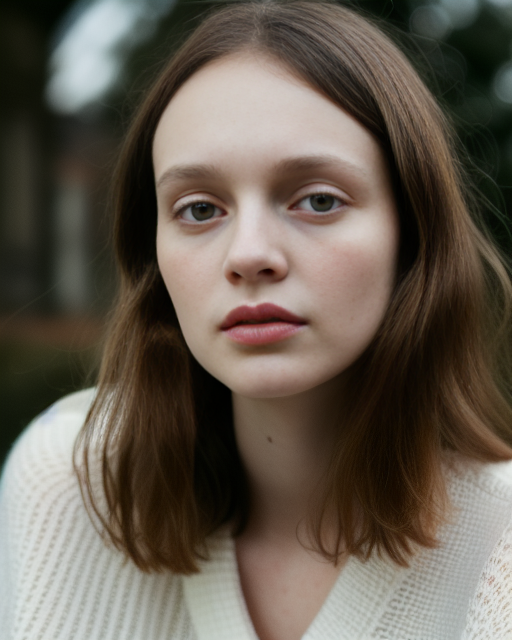 Dreamlike Photoreal |
Best Model for Anime Faces
Clearly, good-looking anime faces will require a totally different training set and approach than photo-realism. For that reason, here are a few custom models that were trained for the creation of anime-style AI art.
Best Model for Digital Art/Painting Faces
You may be interested in generating art that looks like a digital painting, physical painting, or some similar traditional art medium. If that’s the case, the requirements for “realism” are not quite the same as you will find with photo-realistic images.
Features don’t have to be nearly as detailed. It especially depends on the type of artist you want to emulate. For example, Degas would have far less realistic elements to a face than, say, Rembrandt.
I have yet to find a model that’s custom trained on doing traditional art painting. But there are several that are fine-tuned for recreating a modern digital painting and concept art style. Some of the best I’ve seen for this are:
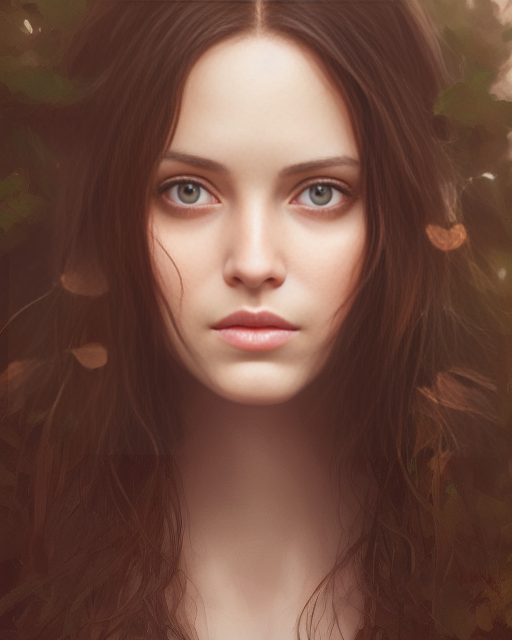
Examples: Realistic Faces in Paintings
 Dreamlike Diffusion (with GFPGAN enabled) | 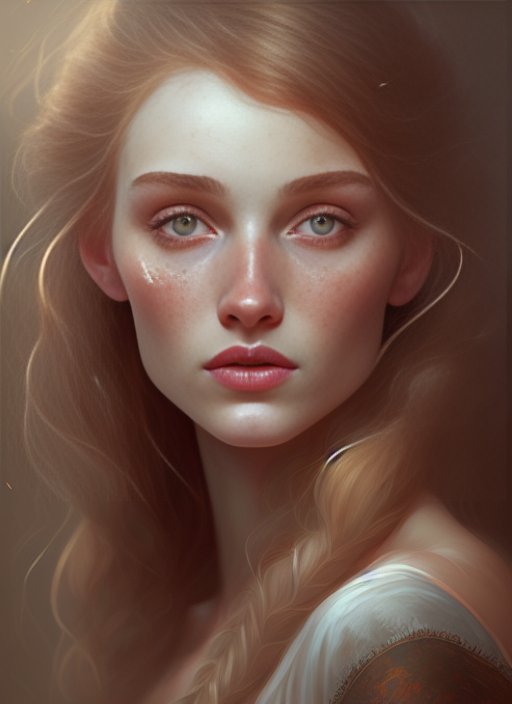 Dreamlike Diffusion (with GFPGAN enabled) |
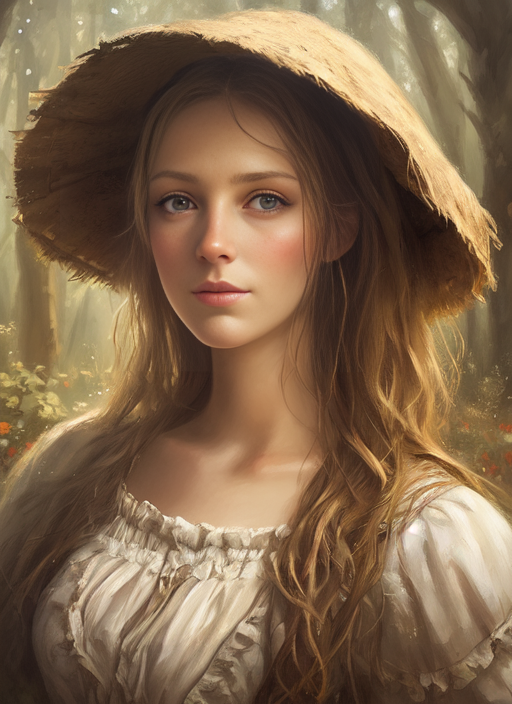 Dreamshaper (with GFPGAN enabled) | 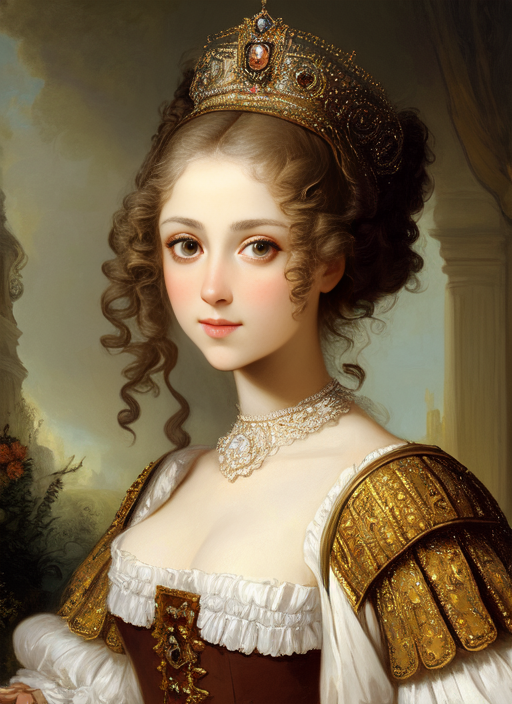 Dreamshaper (with GFPGAN enabled) |
Conclusion
While the most basic version of Stable Diffusion may struggle with human faces, there are several methods to improve the realism and detail of portrait art. Each prompt and image idea will require it’s own tweaks to get that right look, so experiment with any combination of the methods I’ve shown you today.
Thanks for stopping by! If you found this guide helpful, here are a few more that you may like:

