So you’ve been tinkering with Stable Diffusion…and you noticed a feature in your interface called “Highres fix”. What is that? Should you be using that with your image generations? Allow me to explain what that extension does and when you should implement it for better image results.
What is Highres Fix?
Highres fix (short for High Resolution Fix) is a custom rendering add-on found in the Stable Diffusion web interface by Automatic1111. It’s a feature that will partially render your prompt at a low resolution and then finish the render at a higher resolution.
But why would you want to do that when you can just upscale the image later? There are several reasons, actually…
What Is Highres Fix Used For?
Highres fix is designed to correct errors in image processing that basic upscaling cannot. There are 3 reasons why Highres Fix can be more helpful than an upscaler:
- Image abnormalities
- More detailed images
- Aspect ratios
1. Image Abnormalities
If you’ve spent any time using Stable Diffusion, you’ll know that it doesn’t work well for creating very wide or very tall images without causing deformities to the content.
If you try to make a portrait image that’s too tall, the AI will start adding extra heads stacked on top. Likewise, generating an image too wide will cause Stable Diffusion to start adding more people into the image to fill up the extra space.
These abnormalities are added because the neural network breaks larger images down into sectors and paints them separately. It means the software doesn’t realize it already drew the head in one sector of the image space and therefore draws the head (again) in the other section before putting all of the image parts together.
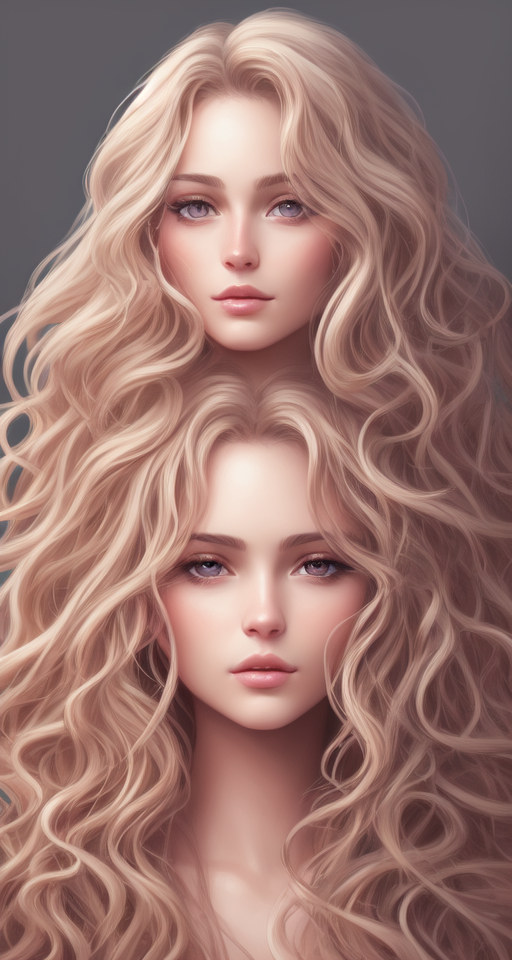
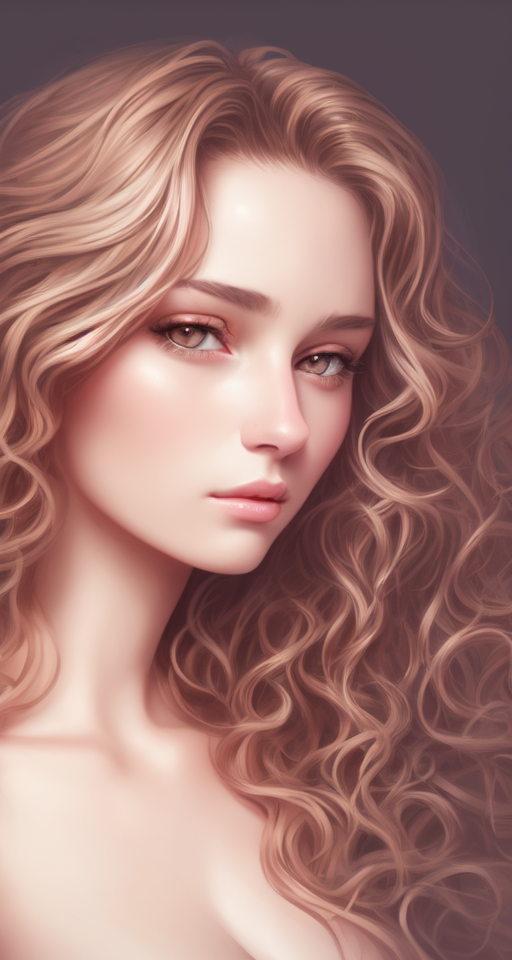
Highres fix was designed to prevent this issue. It will generate a 512×512 pixel image without the extra heads and then re-render the final output image at your higher resolution (or non-square aspect ratio) while maintaining the core subject matter of the initial, smaller image.
2. More Detailed Images
Stable Diffusion’s txt2img feature does not yield very good results when generating images at high resolution at the start. If you want to make a 1024×1024 image, the output is likely to appear garbled or cluttered. The AI art software will try to fill in as much space as possible with your prompt keywords, rather than use the higher resolution to improve the subject details.
Highres fix corrects this complication by generating the core image content at a lower resolution and then filling in the details for a higher res version. All without having to switch over to an upscaler in the process.
3. Aspect Ratios
Out of the box, Stable Diffusion’s has trouble generating high resolution images or non-square aspect ratios. But this nifty fix feature allows you to work around those shortcomings.
With highres fix, you can initially generate a square image and then re-render it at a non-square ratio without getting distortions or deformities in the image content. This allows you to generate wide portrait photos without getting extra people or heads in the image.
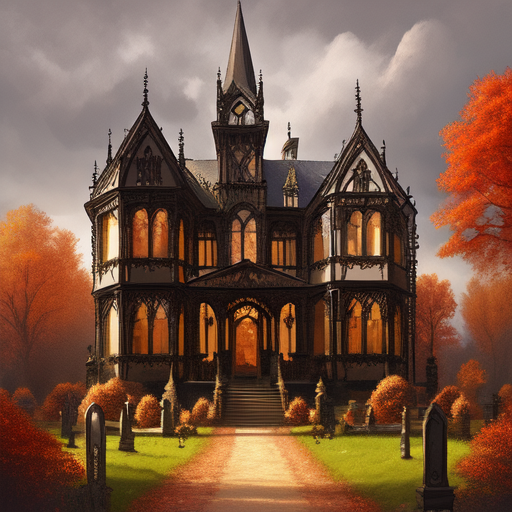
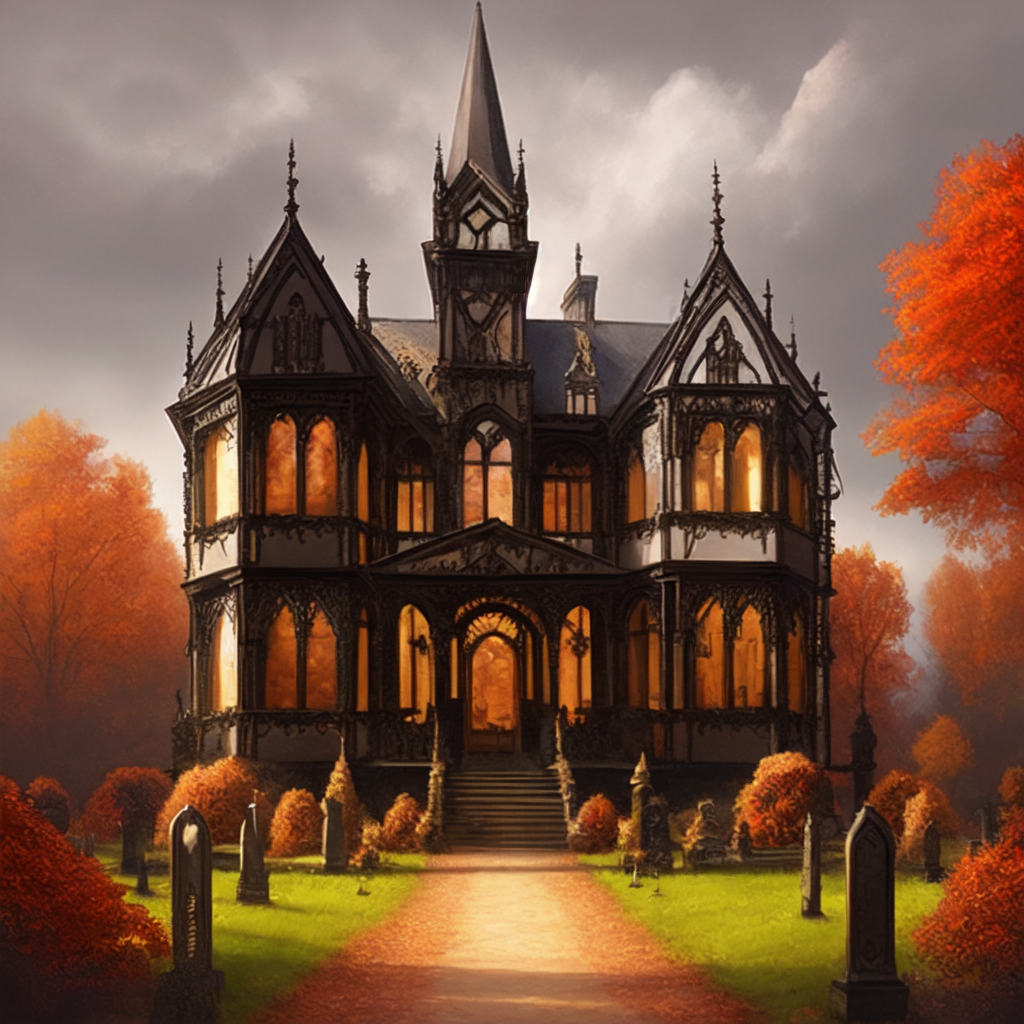
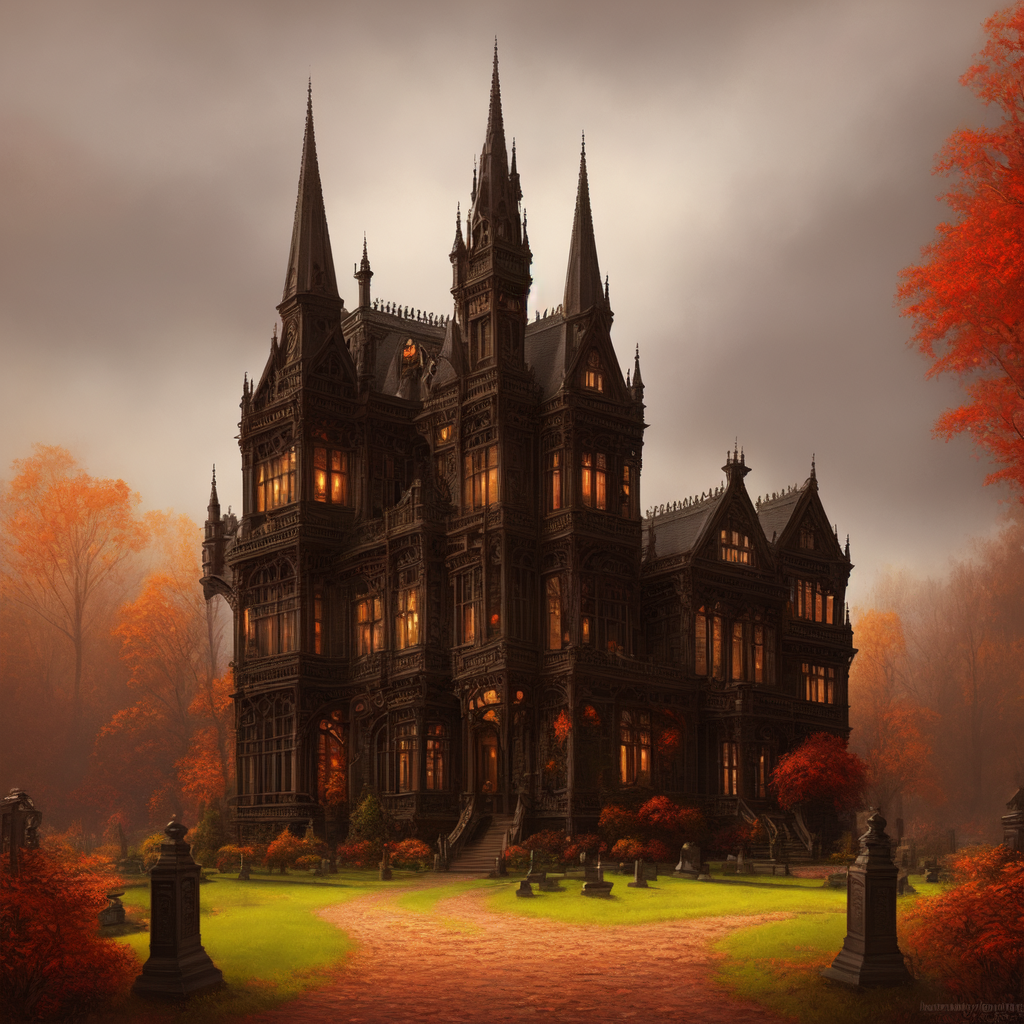
A Highres Fix Comparison
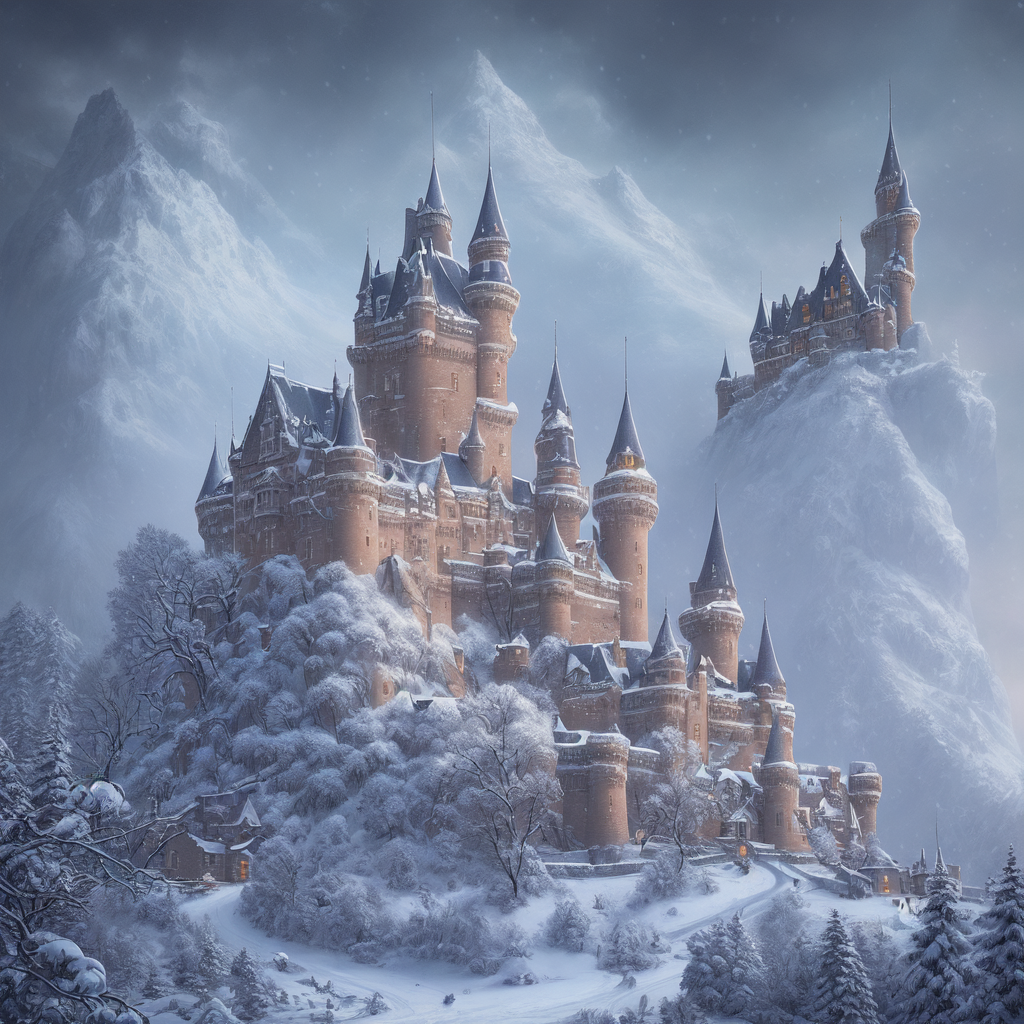
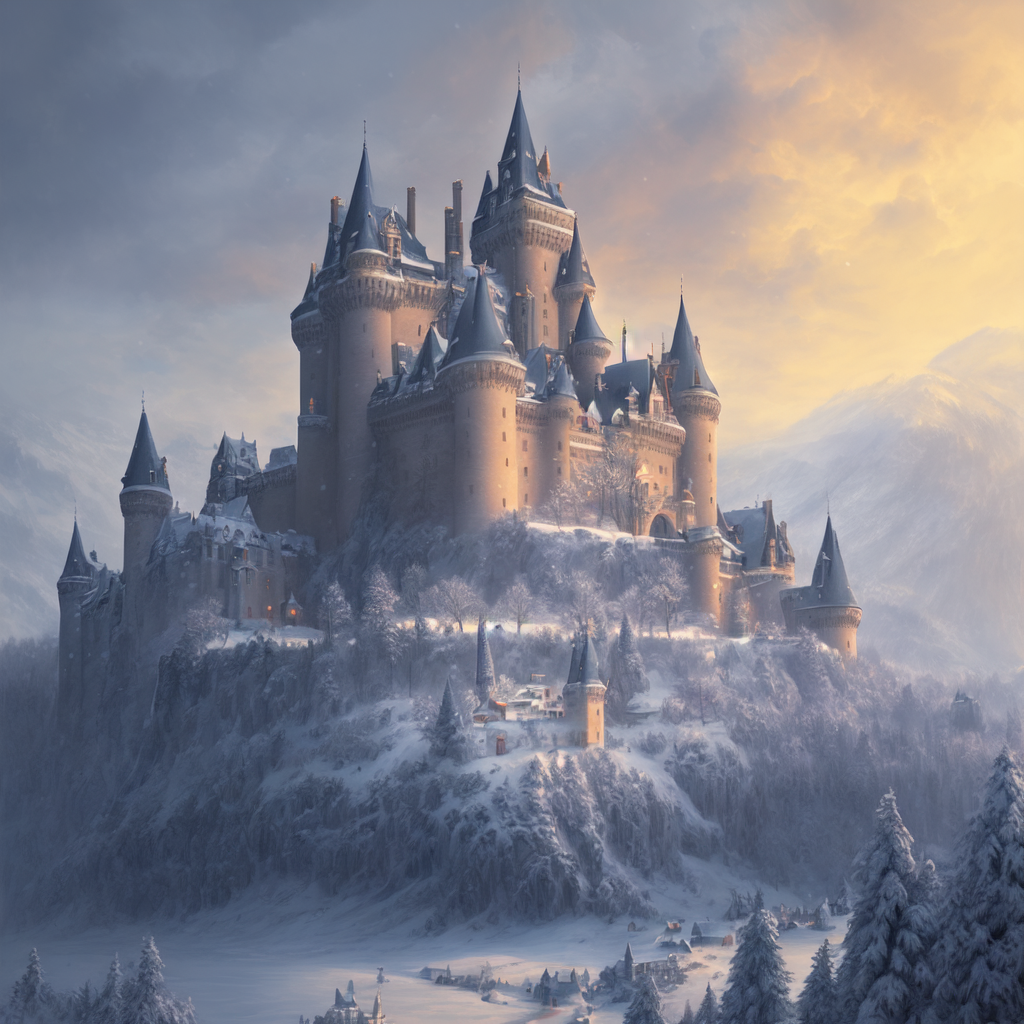
Notice how the first image (without the fix feature enabled) has extra castle bits popping up in the background part of the image. There are also a lot of mountains thrown around everywhere.
When we run Highres Fix with an initial pass of 512×512, that extra castle in the background goes away. We also get less mountains and more sky. In short, the image is more coherent as a landscape.
How is Highres Fix Different from an Upscaler?
Upscalers work quite a bit differently than the Highres fix feature. An upscaler takes your initial image and breaks it into smaller pieces; then it enlarges those sections, fills in details, and stitches them back together into a final output. It does not put as much load on your VRAM either.
Highres fix, on the other hand, starts the generation at the lower resolution for a few passes. But it then switches to the higher resolution mid-processing and keeps building layers onto the initial image. It requires more VRAM, but the trade-off is an image with more details and no issue of image stitching (which can sometimes be visible after upscale).
How To Use HighRes Fix for Better Images
So what are the best settings for using highres fix? That will depend on what kind of subject matter you want to generate. Highes fix is most useful for generating large resolution images of people or buildings. It also improves results for very tall or very wide aspect ratios.
If you plan on making large, tall, or wide images…turn Highres fix on and test out the following adjustments in its settings:
- Firstpass Width – this designates the width (in pixels) at which Stable Diffusion will do the first few passes of generation before upscaling and adding details. A good default is to start at 512 pixels and test the results.
- Firstpass Height – this designates the height (in pixels) at which Stable Diffusion will do the first few passes before moving to higher resolution. A good default is to start at 512 pixels and test the results.
- Denoising Strength – this lever controls how different the final high-resolution result will be from the initial low-resolution passes. At a low denoising strength of 0.1, the image will remain almost exactly the same; at a high denoising strength of 1, the image will be very (if noy completely) different. I recommend a strength between 0.2 and 0.4 to keep the general idea of your base image but still give Stable Diffusion room to add details in.
Highres Fix is a great way to beef up a good low-resolution output image that you already generated and liked. Re-use that images seed number and then add the highres fix. Make sure to st the firstpass size dimensions to whatever the original size was (so that the seed exactly matches).
Workflow Example
Here’s an example of how to generate images more efficiently with this feature:
- First, generate some images at 512×512 pixels using your preferred prompt
- Once you find an image that you like, lock it’s seed into the seed box
- Change the width and height to your desired/larger size or aspect ratio
- Now check the “highres fix” box; you should see some more toolbar options appear
- Set the firstpass size to 512×512 (to match the image you already generated and ensure it uses that exact image as the high resolution basis)
- Adjust the denoising strength to taste (I start around 0.5 and go from there based on my image results)
Conclusion
Highres fix is a nifty tool for fleshing out low resolution output images. It works like a cross between img2img and upscaling. If you have any AI art images that came out with extra heads or weirdly abstract aberrations at large resolutions, test out those seed numbers again with the highres feature enabled.
Thanks for stopping by. If you found this guide useful, here are a few more you may like:

